How to Customize Your Jeans: DIY Tips and Tricks
Moische.com
Customizing your jeans is a fun and creative way to express your personal style. Whether you want to add unique details or completely transform your denim, here are some DIY tips and tricks to get you started.
1. Distressing Your Jeans
Tools Needed:
Sandpaper or a sanding block
Scissors or a razor blade
Steps:
Mark Areas: Use chalk to mark the areas you want to distress.
Sand and Cut: Rub the sandpaper on the marked areas to create a worn look. Use scissors or a razor to make small cuts or slits.
2. Adding Patches
Tools Needed:
Iron-on patches or fabric glue
Needle and thread (optional)
Steps:
Select Patches: Choose patches that reflect your style.
Attach Patches: Follow the instructions for iron-on patches or use fabric glue. For a more secure attachment, sew them on.
3. Embroidery
Tools Needed:
Embroidery thread and needle
Embroidery hoop (optional)
Steps:
Design: Draw your design on the jeans with a fabric pencil.
Stitch: Use basic embroidery stitches like backstitch or satin stitch to complete your design.
4. Bleaching and Dyeing
Tools Needed:
Bleach or fabric dye
Spray bottle or bucket
Steps:
Bleaching: Dilute bleach with water and apply it using a spray bottle for a splattered effect or dip parts of the jeans for an ombré look.
Dyeing: Use fabric dye to add color. Follow the dye package instructions for best results.
5. Adding Studs and Rhinestones
Tools Needed:
Studs or rhinestones
Stud applicator or fabric glue
Steps:
Design: Plan your design and mark the placement on your jeans.
Attach: Use a stud applicator or fabric glue to secure the studs or rhinestones.
6. Creating Cut-Offs
Tools Needed:
Scissors
Chalk
Steps:
Measure: Decide the length you want and mark it with chalk.
Cut: Cut across the line. For a frayed look, wash the cut-offs to let the edges fray naturally.
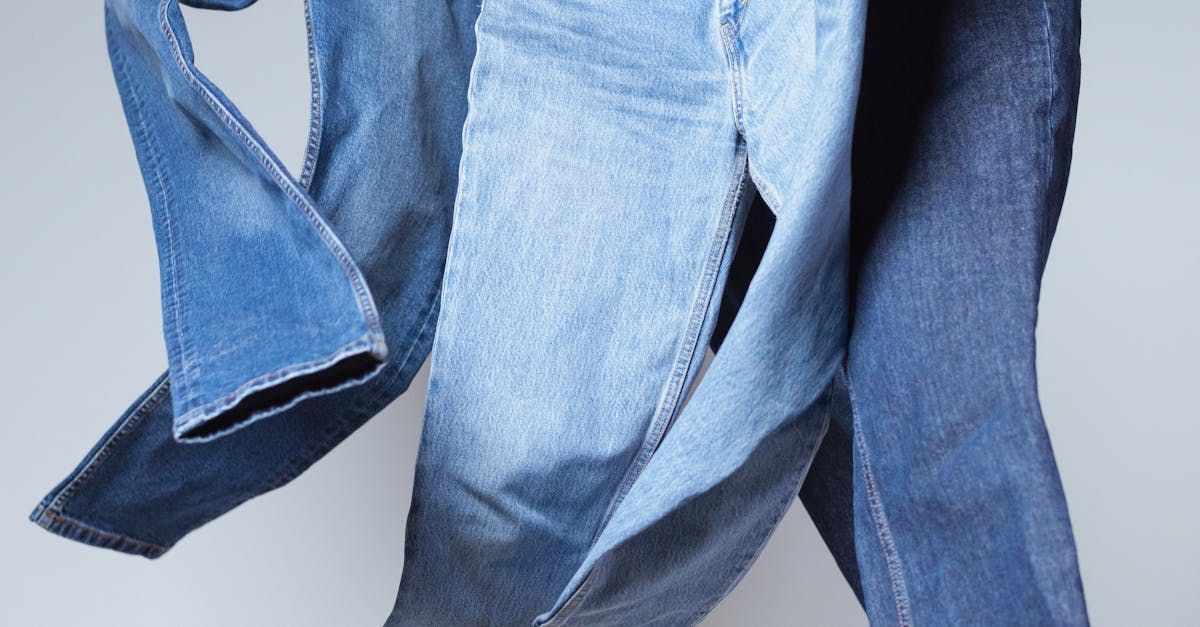
Stay ahead in denim fashion with insights into the latest innovations and trends. From sustainable practices and eco-friendly materials to smart fabrics and customization options, explore how technology and creativity are shaping the future of denim. Learn about new denim styles and production techniques that promise to revolutionize your wardrobe.

Discover the world of denim accessories that go beyond jeans and jackets. From stylish bags and hats to chic shoes and belts, explore how denim is used to create unique and fashionable accessories. Learn how to incorporate these pieces into your wardrobe for a fresh and trendy look that showcases the versatility of this timeless fabric.
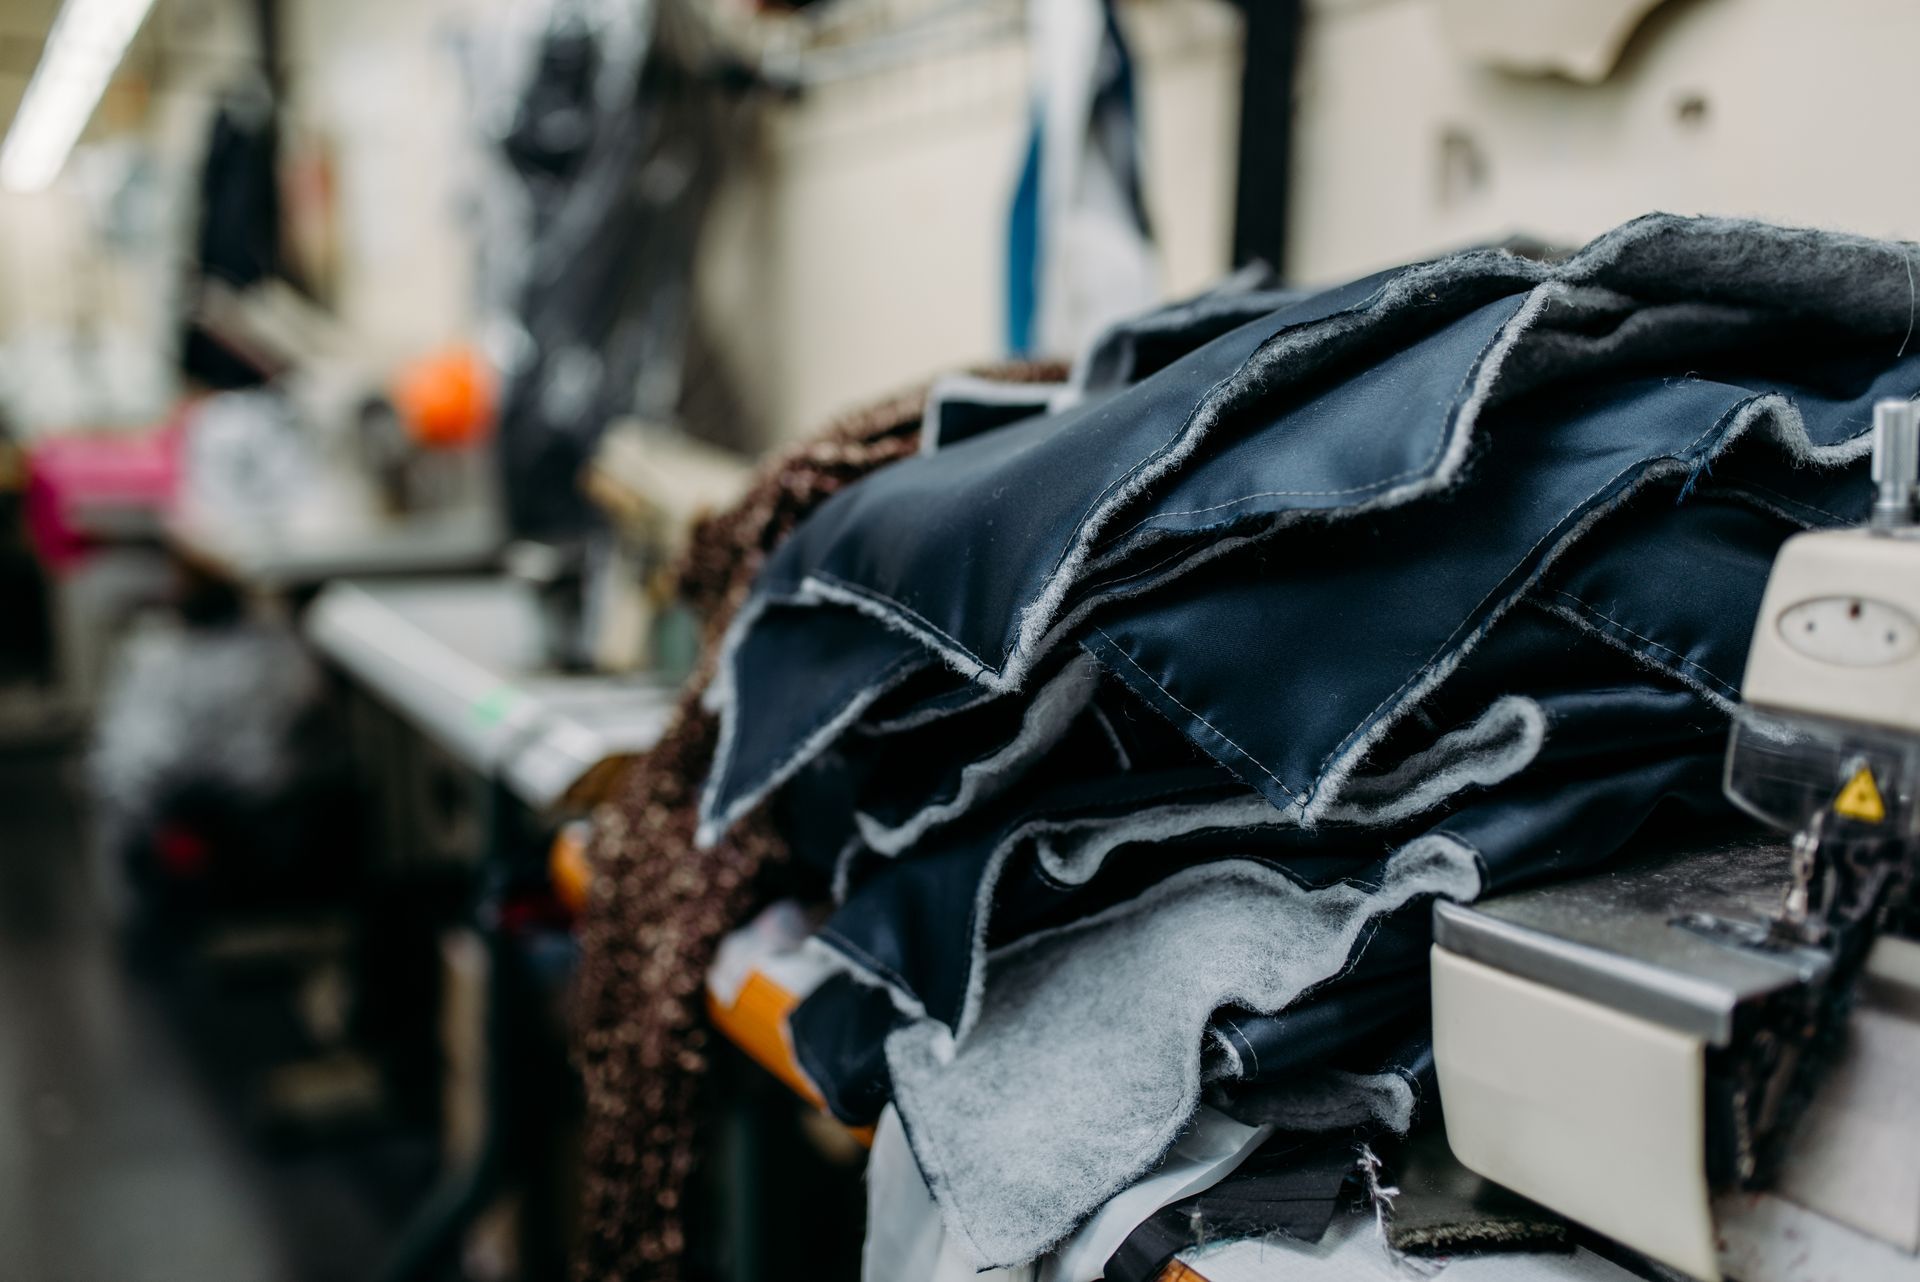
Explore the detailed process of denim production, from cotton harvesting and yarn dyeing to weaving, cutting, and sewing. Learn about the various steps involved in creating your favorite pair of jeans, including fabric finishing techniques and quality control measures. Understand the craftsmanship and technology that go into making durable and stylish denim garments.

Discover how denim has shaped and been shaped by pop culture. From James Dean's rebellious style to Madonna's fashion statements, learn about the iconic moments and figures that made denim a cultural staple. Explore how music, movies, and celebrities have influenced denim trends, turning this fabric into a symbol of individuality and timeless style.
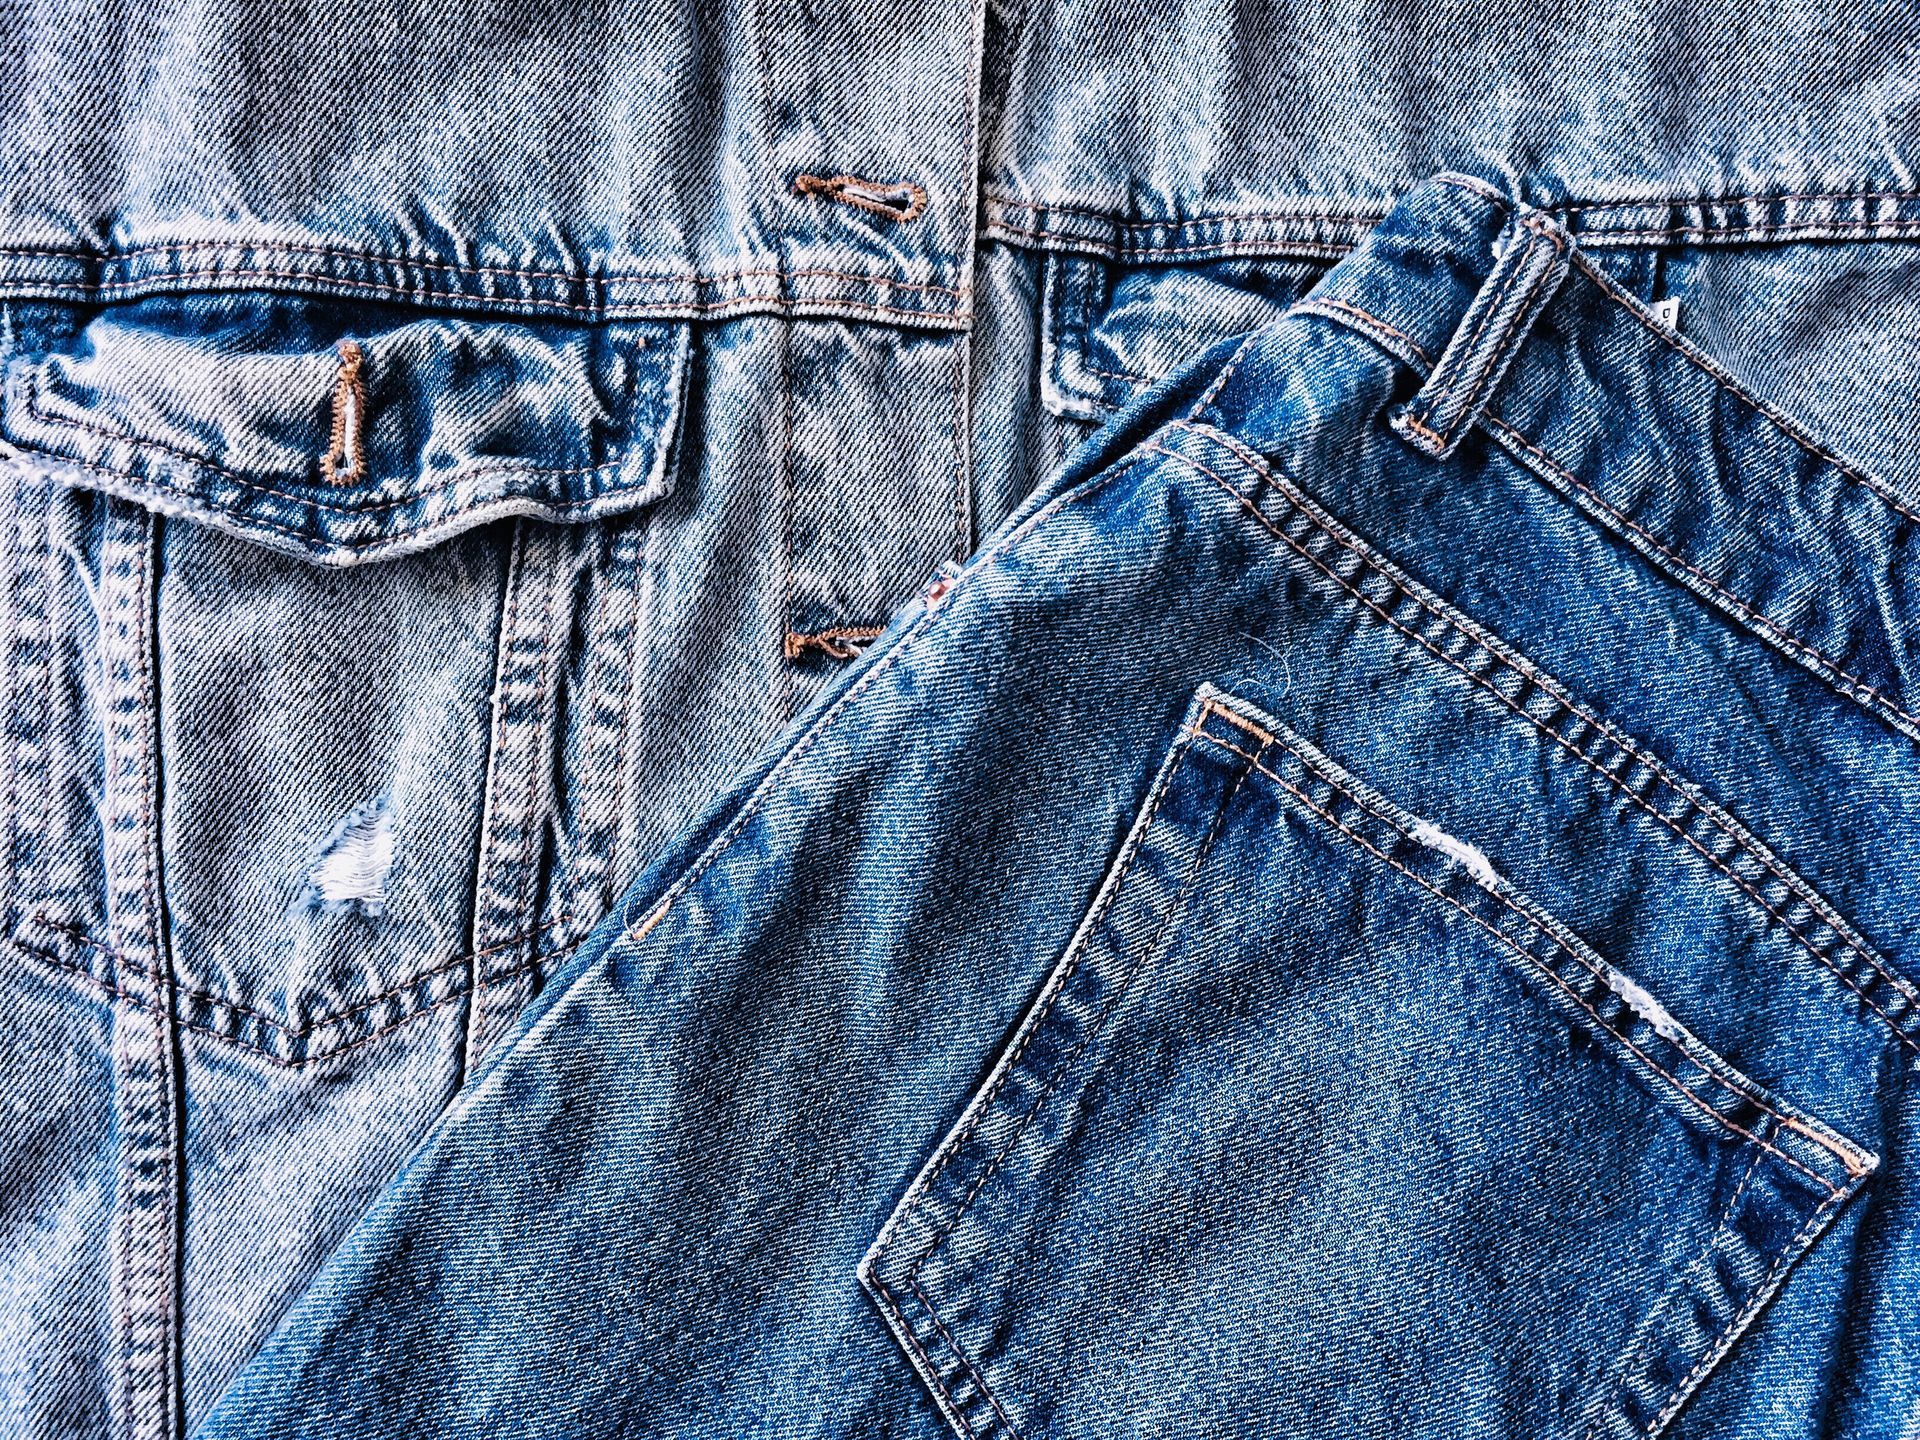
Embrace the return of vintage denim with our guide on how to find and style retro jeans. Learn where to shop for authentic vintage pieces and discover tips on styling them to fit modern trends. From high-waisted cuts to flared legs, explore how to incorporate timeless denim styles into your wardrobe for a unique and fashionable look.

Understand the different denim fits to find your perfect pair of jeans. From slim and straight to skinny and beyond, learn the key characteristics of each fit, including how they taper and where they sit on the waist. Discover styling tips for each type to ensure you look and feel great in your denim, no matter the occasion.
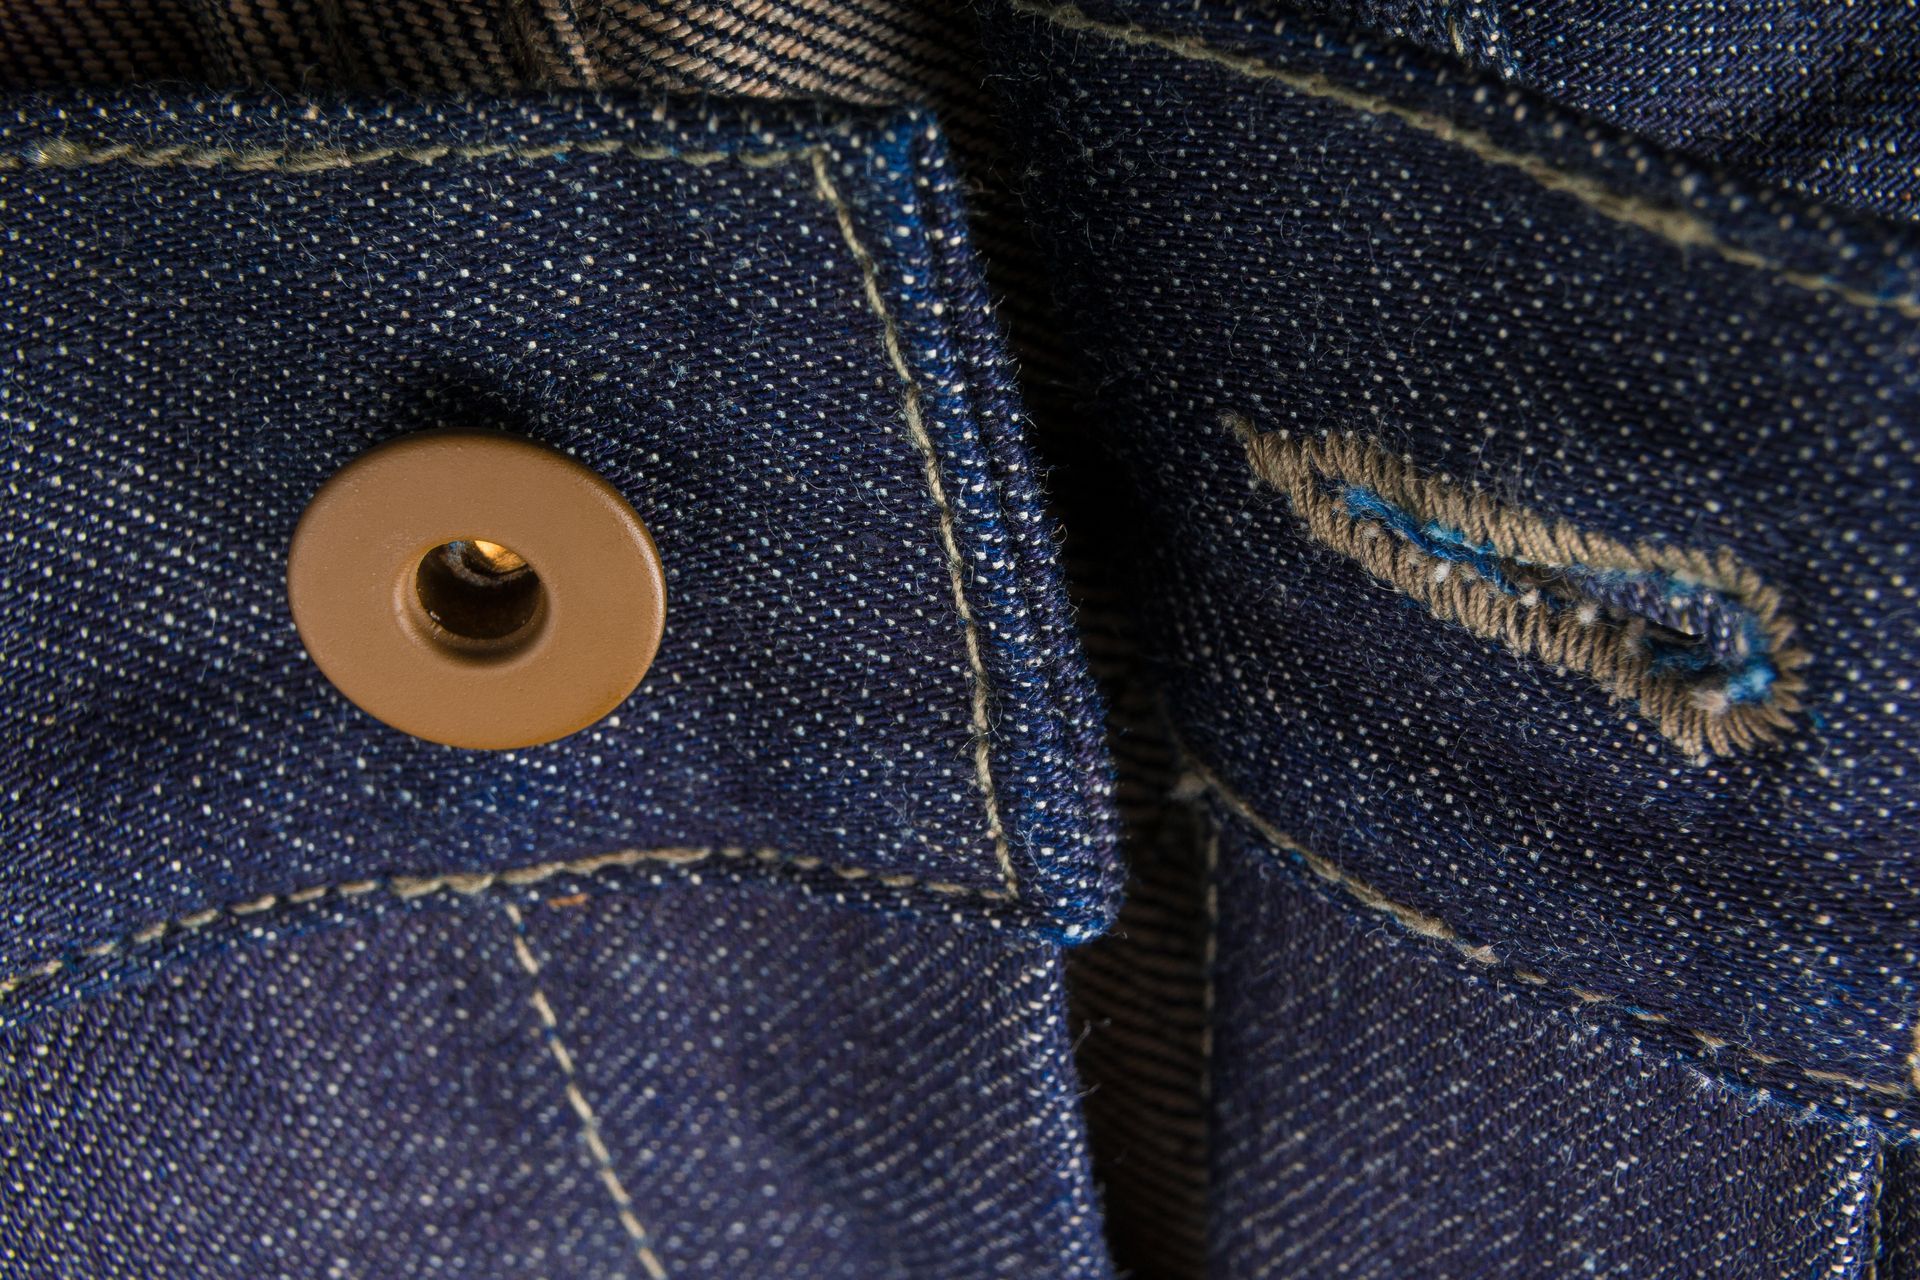
Dive into the world of denim fabrics and learn about the differences between raw and selvage denim. Discover the unique qualities of each type, including their durability, aging process, and distinctive features. Understand how these fabrics are made and what sets them apart, helping you make informed choices when selecting your next pair of jeans.
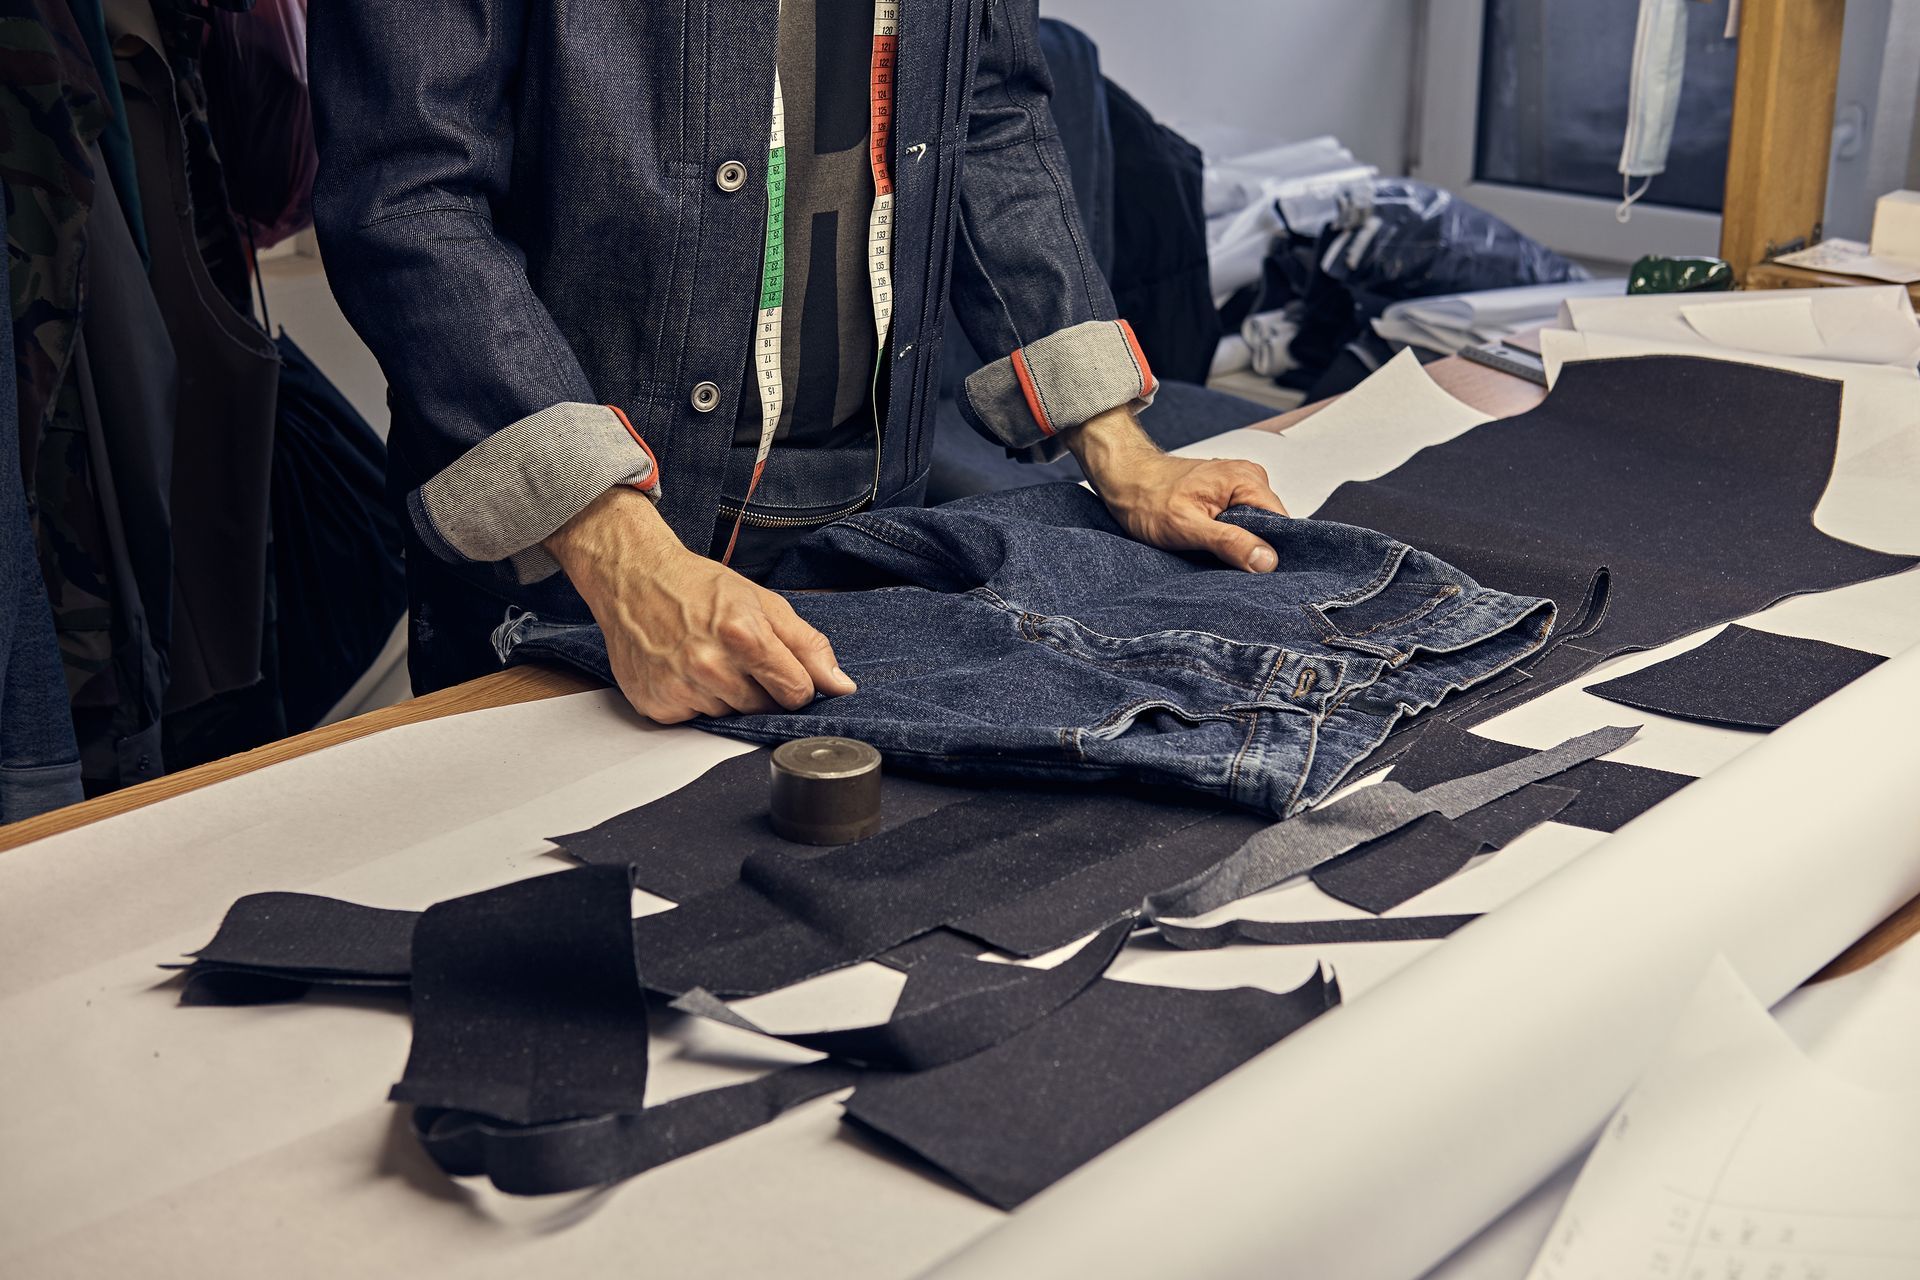
Dive into the world of denim fabrics and learn about the differences between raw and selvage denim. Discover the unique qualities of each type, including their durability, aging process, and distinctive features. Understand how these fabrics are made and what sets them apart, helping you make informed choices when selecting your next pair of jeans.
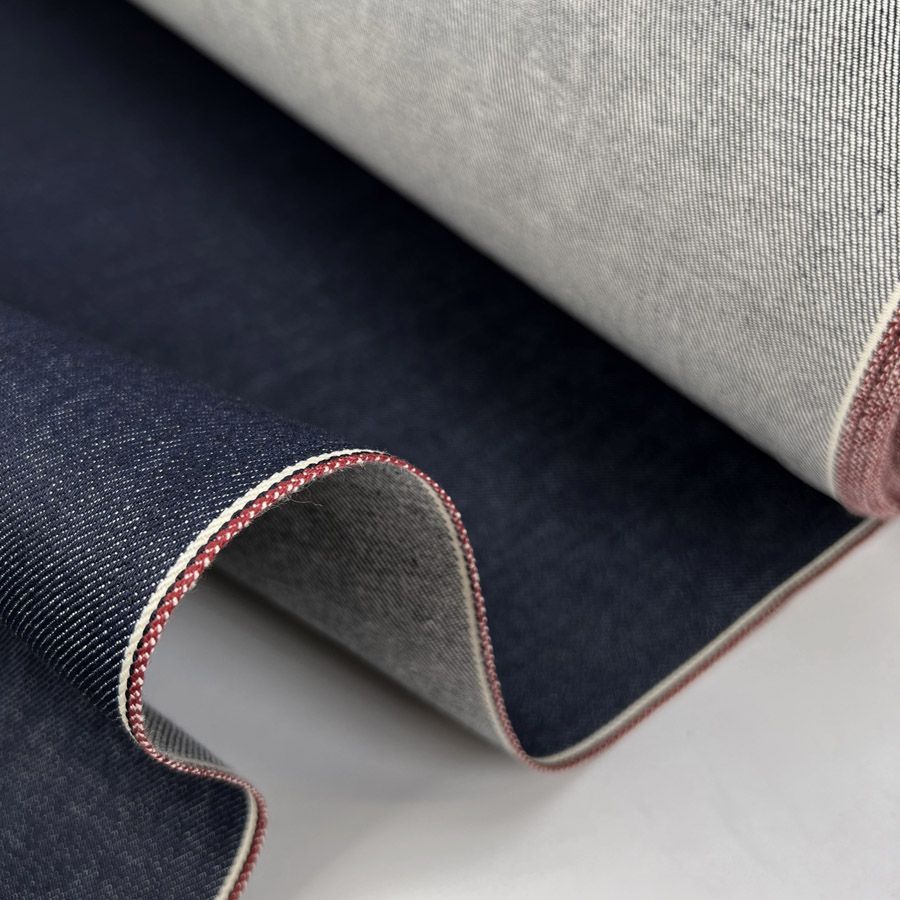
Discover why Japanese denim is celebrated worldwide for its superior quality and craftsmanship. Learn about the meticulous production techniques, premium materials, and traditional methods that set Japanese denim apart. Explore the unique characteristics such as its rich indigo color, durability, and the artistry involved in its creation, making it a favorite among denim enthusiasts and fashion connoisseurs.
